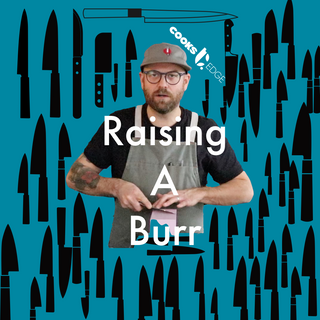
So you have assessed your blade and figured out which whetstones you will need, so let's get started with sharpening. The first thing you will need to master is raising a burr.
What is a Burr?
If you are new to knife sharpening you may not be familiar with what a burr is and why it is an important part of the knife sharpening process. A burr is basically a curved lip of metal that raises up along the opposite side of the blade as you are moving the knife back and forth over the whetstone. A proper burr formation along the whole length of the blade lets you know that you are ready to flip the knife over and begin sharpening the other side.

How to Raise a Burr:
Think of your knife as having three sections: the heel, the belly and the tip. Starting with the heel of the knife on the whetstone, apply even pressure and maintain a consistent angle as you run the blade back and forth over the stone. Once you have a burr raised along the heel area you can move onto the belly and then the tip.
*Knife Sharpening Tip* For a Japanese knife you will want the angle of the knife against the whetstone to stay between 12 and 16 degrees and for a Western knife between 16 and 24 degrees. Proper hand and finger placement will help you to maintain a consistent angle while sharpening.

How to Check for the Burr:
You will be able to tell when a burr is raised by periodically checking the edge to see if you can feel it. To do this, take your thumb and run it down the blade and off the knife, on the opposite side that you were sharpening. Make sure you don't run your thumb along the blade.
Come back next week for part 3 of our 4 part series: "Refining the Edge".


 is here! Shop now, pay later in 4 easy installments